Making The Mold Edges
This is an excerpt from the Book called “Making Concrete Countertops. Continue reading to learn more about Making The Mold Edges, thanks to the author.
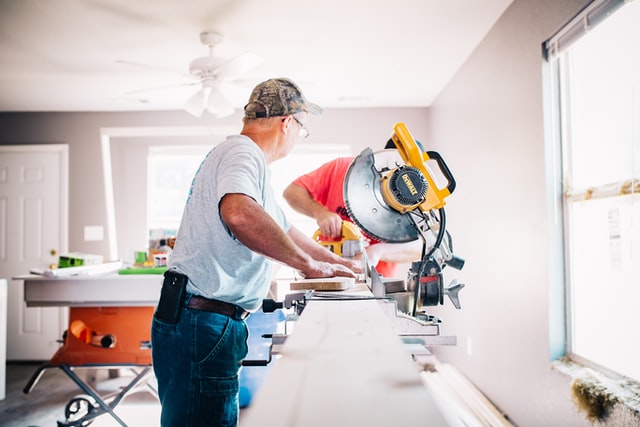
Because the countertop will be 1-3/4” thick, rip 1-3/4” mold walls from 3/4″ melamine on the table saw.
Countersink screw holes into the edges of the mold walls. We will use 2-1/2” screws so that they will go through the 1-3/4” mold edge and into the base of the mold, but not through.
And steel Straight-edge helps align the sizing or thick wall of the mold.

Measure the side walls and run. On the bold saw level the front edge of the sidewall to match the angle of the curved stripe. Screw the sidewall of the mold and piece.
Cut out blocks from 3.4” melamine 1-3.4” wide. These blocks will support the curved wall in the mold.
Countersink screw holesin these bracing blocks for the radius edge.
The curved wall is made of 1/4” melamine, ripped to 1-3/4”. Cut a strip long enough to form the curved wall, allowing a couple of excess inches on each side. Affix two blocks, one to each of the beveled sidewall molds. Bend the 1/4” melamine strip to the radius line drawn earlier.
Fix one block to the centerline. (Note that the radius edge pencil line should show on the inside edge of the 1/4” melamine strip).
Now affix the rest of the blocks, evenly spaced and placed so that the melamine strip can be attached just outside the drawn radius edge line.
Use finishing nails to affix the 1/4“melamine strip to the blocks behind it. The nails are so small that we won’t need to use Bondo.
Fit the sink mold into placer.
Use a pencil to mark places where the sink doesn’t fit properly against the raised drainboard.
A little bit of dried resin and wood needs to be carved away with a knife where the fit is too tight.
Drive two screws through the base of the mold on either side of the centerline and remove them. The holes will work as a guide when securing the sink mold from beneath.
Turn the mold upside-down on the worktable, so that the sink mold can be accessed from underneath.
Screw the sink mold to the base.
Use 100-grit sand paper to smooth the mold. Take time to really go over it and make sure it’s perfect.


Creating A Faucet Knockout
We Need To Make holes for our plumbing. Once you know which faucet you will be using, you are ready to proceed with making the displacement for the holes. Although you can drill them later, it’s preferable to cast them into your mold.
Using an architectural circle template, trace a 1-1/2“circle on 1-7/8” foam.
Mark the center.
Cut out a cylinder using a bendsaw.
Hold the cylinder next to the mold wall to test for height. This foam piece is a little too tall.
Use course sand paper to reduce the height of the cylinder until it is flush with the mold wall.
Use the corner of the mold to ensure a level, perfect finish when sanding.
Wrap the foam cylinder with vinyl tape.
Trim the tape with a knife.
Measure and mark the knockout position on the mold.
Create a starter hole in the melamine base of the mold using a screw.
Drive a screw through the center of the knockout cylinder.
Use the starter hole to align the screw and affix the knockout.
Affix drain knockout to center of sink mold. We are using a rubber mold manufactured by Buddy Rhodes Studio.
