Converting a Window to a Door
This is an excerpt from the Book called “Home Repair and Improvement Series“ by Bob Vila. Continue reading to learn more about Converting a Window to a Door, thanks to the author.
The Trick of Converting a Window to a Door
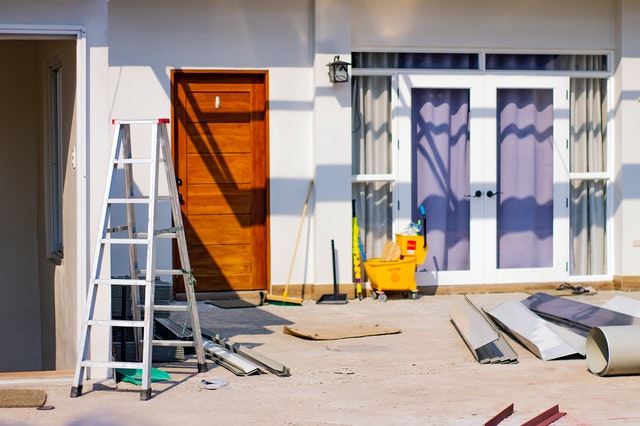
Adding anew exterior door or window to your house is easier than it sounds. Even making a hole in the all can be fairly simple if the exterior is wood, aluminium or stucco. Cutting through masonry is heavier work. Both the door and the window units come ready-assem-bled in a wide variety of styles and sizes.
The quickest way to add anew door to a frame house—one whose basic structure is made of wood studs, not of solid masonry—is to take out an existing window, lengthen the opening and put a door unit in its place. To take advantage of this simple method, you must be able to find for your door opening a window of suitable size; most ready-made doors are 6 feet 8 inches high and 32 or 36 inches wide. In-side the window casing, measure the height form the underside of the top jamb to the floor and the width between the side jambs. You also need a window with no obstructions hidden in the wall beneath it; check rooms above and below for piping or cables. You may have to cut a hole and inspect the area.
Where you do not have a window of the appropriate size in the appropriate place—or if you wish to put in a window, not a door—you can do that, too, by making a new opening in the wall and framing it as shown.
For a flush fit outside and inside with wood, aluminium or stucco, choose a door frame4 5/8 inches thick of your interior walls are wallboard, 5 3/8 inches thick of they are plaster. For brick venner or solid masonry, either thickness will serve because the door will be recessed flush with the interior wall.
Like prehung interior doors, the exterior models can be hinged on the right of log side. Unlike them however, exterior door do not have alit jamb with finished caning on both sides but come with a sold jamb that is trimmed only on the outside. You must assemble the interior trim also you install the unit. On most doors, the exterior casing or brick mould is 2 inches wide and extends about 1 ½ inches beyond the jamb. When you are replacing a window worth a door, you may need to order wider casing to make in match the size of existing exterior trim.
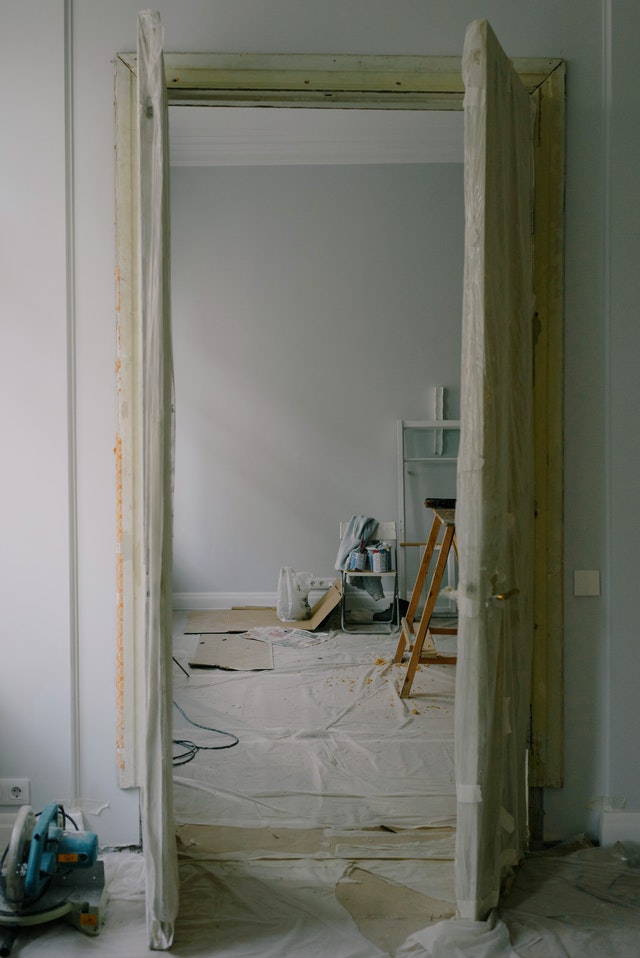
Getting At The Window.
Before you can take the basic frame, or jamb, of a window out of a wall you have to remove the rime and sashes prices by piece. The first pieces to remove are the strips of interior casing around the window and the stop moldings along the sides—and, sometimes, the top—to the jamb. Then comes the apron under the interior still, or stool, and the sill piece itself. Next is the hardware the holds the lazed sashes.
On the standard double-hung window, shown separated from the trim in the drawing at left this hardware consists of metal channels and springs. You need to take off the exterior cases to remove them completely. Other types of with downs have sash cords or hinges. You can life out the sashes from the inside and remove the exterior casing afterward; a little experiment will show what you need to undo.
Removing The Window
- Removing the trim. Using a utility bar and hammer, pry off the casing form the front of the jamb at the top and sides of the window. Remove the strips of stop melding at the sides of the window and then the apron under the interior sill, or stools. Strike the underside of the stool with a small sledge to knock it up off the frame. Then pull out any nails protruding from the jamb.
- Taking out the Push both sashes down and twist the tops of the metal strips covering the springs for the interior sash (above, left). Pull off the interior strips, release the springs and lift the interior sash out of the window. Working outside the house, use the utility bar and hammer to pry off the top and side exterior casing and the exterior stops, then twist the tops of the metal strips covering the springs for the exterior sash, pull off the strips and release the springs so you can take out the exterior sash. Remove they remaining metal strips form the sides and top of the jamb. For a double-hung window with cords, cut the front sash cords and lift the interior sash out of the frame. The sash weights will pull the cords behind the side jambs; weights and cords can be removed when you take off the jambs (overleaf). Pry off the parting strip that separates the sash channels, cut the remaining as cords and life out the exterior sash.
- Pulling out the jamb. Remove the exterior casing and stops. With a handsaw, cut the top jamb and the sill in half. Then with the aid of a utility bar, pry the top jamb and sill out of the opening. Pull the side jambs off the jack studs and remove all the nails that are still protruding from the rough frame.
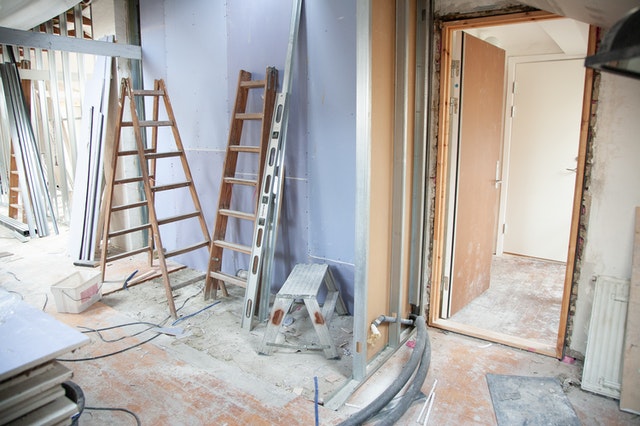
Preparing The New Opening
- Extending the interior opening. Remove full sections of baseboard and melding from the working area. Before sawing, turn off power at the service panel to the room’s light and outlets. With a key bole saw, cut down the wall along one side edge of the window opening past the bottom of the rough sill—about 2 inches. Then, using the inner edge of the jack stud inside the wall as a guide for the saw blade, continue to cut down to the level of the slow plate.
Repeat the procedure on the other side of the window. Using the utility bar if necessary, pry off the wall-finishing material between the cuts. Now the inside of the wall will be exposed so you can see the existing framing. - Taking out the rough sill. Pull out any issue lotion material inside the wall. Then examine the sill of the rough of ending to determine how it is attached to the jack studs. If the enough sill is toenailed between the studs (above). Some it in two near the middle and twist the ends of the studs. If the ends of the sill extend under jack studs at the sides of the opening and some rate jack studs support the bottom of the summit. Saw out the sill flush with the inner edges of the studs and then remove it. Twist the cripple under the sill off the slow plate at the bottom of the wall.
- Cutting away the siding. Inside the house, measure from the bottom of the window opening to the sole plate, then add 1 ½ inches to allow for the depth of the palace. Outside use plumb line to snap lines down the siding to this distance from the bottom corners of the opening in the siding. Use a yardstick to draw a horizontal line between the ends of the vertical ones.
For wood, aluminium or stucco siding set the blade of a circular saw a carborundum blade for stucco—to the maximum depth of the siding. Plug the saw into a GFCI-protected outlet remove any nails in the cutting line and cut along the lines, but avoid sawing into the sheathing; the border of sheathing left around the window opening will be continued for the door opening. Pry off siding between the cuts. - For brick siding, score the bricks along the drawn lines and remove the bricks inside the lines
- Extending the exterior opening.Unplug the circular saw and set its blade to the depth of the sheathing. Then, using the inner edges of the jack studs to guide the blade, saw down the sheathing from the bottom corners of the window opening to the top edge off the remaining siding. Saw horizontally between the bottom ends of the cuts—along the top of the reaming siding. The sheathing will fall out of the opening. Using a handsaw, cut through the ends of the sole plate flush with the jack studs at either side of the opening. Pry the plate off the subflooring.
- Putting up flashing.If there is no flashing above the opening, use metal shears to cut a strip of 6-inch alummum flashing material long enough to cover the top casing of the door, shape the flashing by tacking it to a 2-by-4, letting one long edge project1/2 inch. Use gloved fingers or a block of wood to bend the projection down at a 90 angle against the side of the 2-by-4. Then untrack the flashing, turn it over so you can make another bend in the opposite direction and restack it, this time letting the bent edge project 1 ½ inches or the depth of the top casing. Untrack the lashing, and hold the bent section toward you. Then slip the 4-inch flat section up between the siding and sheathing at the top of the opening. You may have to remove nails from the siding above the opening.
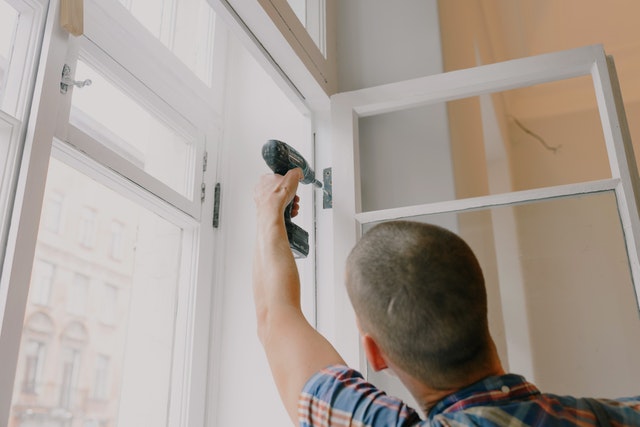
Fitting And Finishing An Exterior Door
- Setting the frame in the door way.If the door is hung from the frame, remove the pins from the hinges and take off the door. Then center the jamb in the opening and push it back so the outside trim lies flat against the sheathing and butts against the siding at the top and sides. Use a carpenter’s level to determine which bottom cornet of the sill is higher, then drive an eight penny casing nail into the side jab 5 to 6 inches above the high corner. With your hand, push a wood wedge or shim under the opposite corner to level the sill. Nail that side jamb.
Push the frame backward and forward in the opening until it is plumb; if necessary, insert shims at the back of the top casing. Drive nails partway into the side jambs about a foot below the top corners, then hang the door on its hinges and follow the directions to shim the door from the inside. Pack strips of fiberglass insulating material around the top and side jambs of the door. - Finishing the exterior.Nail the top and side casings to the header and jack studs between them, spacing the nails at 12-inch intervals. Drive in the nails in the side jambs and nail the exterior sill to the subflooring in two or three places. Countersink the nails and fill the holes with wood putty. Smooth the flashing across the top and down over the front of the top casing. Finally, caulk around the sides and bottom of the door.
- Starting the interior trim.Inside the house, measure the inside width of the top jamb and add ¼ inch. Mark this distance on the side of the interior casing that will face the door, then make a 450 outward miter cut from each mark. Center the narrow side of the casing on the inner edge of the top jamb, 1/8 inch above the edge, with the ends extending 1/8 inch beyond the inner edges of the side jamb. Secure the casing first to the jamb. Then to the header above the jamb with eight penny casing nails. You may need to drill pilot holes in the casing to keep from splitting it.
- Finishing the interior.Square off one end of a casing strip, then but that end against the floor and hold the strip over one side jamb to mark both the point where the strip meets the inner cornet of the top casing and also the approximate direction for your miter cut. Miter the casing and attach it—starting at the top—1/8 inch from the inner edge of the side jamb. Repeat the marking, cutting and nailing procedure to trim the other side jamb trim to length and replace the melding and base show on either side of the opening. Set all the nails and fill the holes with wood putty. Finally, install the lockset, following the manufacturer’s directions.