How Much Does A Pre-Drywall Inspection Cost?

Important Things to Know Before Going For Pre-Dywall Inspection
There are many details to be considered throughout the construction process. In addition to the various rules and regulations that preside over construction in your local area, there are other details like the pre drywall inspection to consider as well. All in all, dealing with the repair hole in drywall construction project can be a frustrating ordeal.
The best way to avoid the frustration of this project is to remain as informed as possible.
Arming yourself with all the information about your projects is the best way to avoid unpleasant surprises that tend to crop up along the way. To this end, we have compiled a short compendium of information, so that you can know exactly what to expect and make sure that nothing is overlooked.
An inspection of the major systems of your home at the pre drywall stage includes:
Structural framing
Foundation
Roof
Exterior grade,
Electrical layout
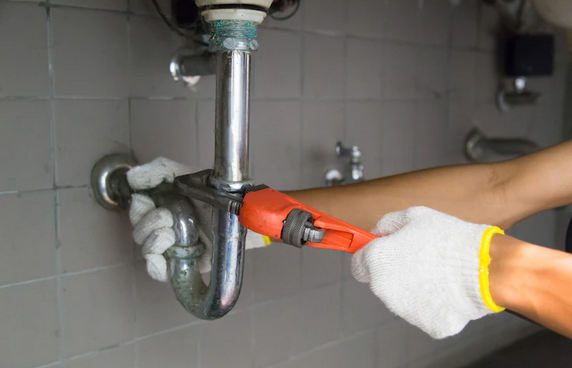
Plumbing
The time it takes to complete this inspection can range from 1 to hours and depends on the size of the property being inspected as well as any specific issues the client is interested in. Any specific issues may require additional pictures and documentation, as we will see in the article below.
Complete peace of mind … from $100 to $250!
Of course, this is not a required part of the project. Nevertheless, there are plenty of reasons that it would be a good idea for you to invest in this inspection. You will be provided with a detailed report on all the issues your project manager finds in their inspection. This saves you from having to do this important inspection yourself and provides a professional perspective that most of the population simply lacks.
Most often these inspections are concluded with a report that declares the complete absence of anomalies. But when an issue is found, it is never a small issue. I have seen potential drainage issues, joists that have been accidentally cut, and many other issues that can be expected to cause considerable issues further down the line.
Furthermore, if your inspector does uncover an issue, sometimes it is an issue that is already being fixed and can therefore fall into your new home warranty.
Documents
The first and most important part of the inspection will be plenty of photos and footage. Think about all the issues that can be solved by a clear picture of what is happening behind the scenes in your own house. Will you want to hang wall art in the future? Then you will want to know what is behind the wall you plan on hanging your art. You will probably want to do some renovations at some point, you will be very happy to have this clear documentation and photo evidence of what you can expect to find hidden in the walls.
I would recommend going all out and having a 3D Matterport model of your home created as well. This will allow you to spend more time on the inspection itself and less time on taking the picture and making videos. Furthermore, the 3D rendering of your home will make it far easier to plan future projects than thumbing through 1000+ pictures and 2 hours of video footage. Finally, many people love to share these 3d models with friends and family so everyone can see how things are progressing in your home.
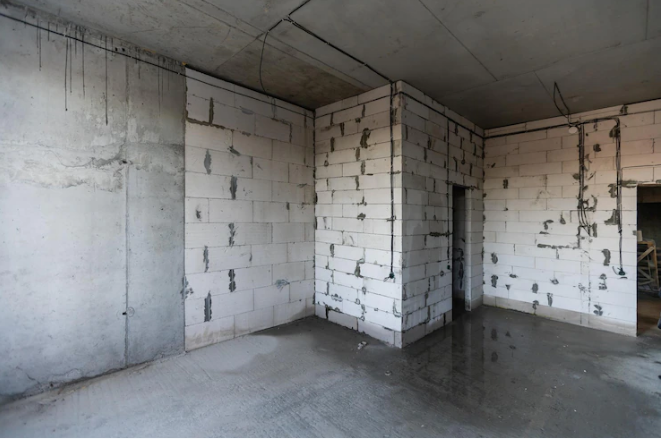
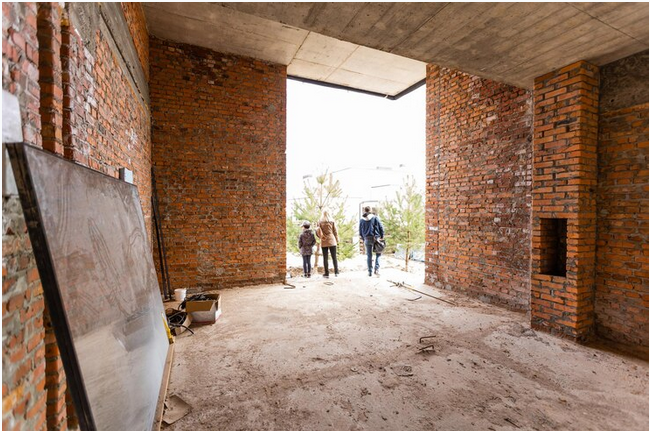
In the Pre Drywall Walk, you and your construction manager will tour the grounds of your home. This is to get acquainted with the plumbing, electrical wiring, internal systems, and any other systems or upgrades you have selected at the time you signed the building contract or have petitioned since then.
Best Tips for Your Pre-Drywall Walk
If you are having your home built, the best time to conduct this important pre drywall inspection is right before the dry walls go up. This way the power outlets, framing, electrical wiring, HVAC, A/V lines, and all other installations and upgrades you have selected will be installed at this point.
The more questions you ask, the better!
When you buy a home on resale, there is very little that you know about the construction stage of the home. As a responsible homebuyer, you already had the inspector inspect the home pre-closing, but these inspectors are limited to the things they can see. Inspectors are not there to poke holes in the walls and explore anything beyond what is readily visible.
Now compare this to building a new home. Regardless of how professional the builder of the home was, there is still much to learn about what is inside your new home. This walk is your chance to get a crash course on home construction. I have attended a good many pre drywall inspections and have been utterly amazed by what I have found within. There is always much to learn about plumbing cleanouts, ductwork, air registers, flashing, electrical panels, and more.
Check Your HVAC Units
HVAC Units — are perhaps one of the most important functional aspects of keeping the home comfortable on the inside. Because the HVAC plays such an important role in keeping the air temperature and quality of the home on point, the HVAC and the entire ducts system are worth inspecting completely.
There are several important issues you will want to keep an eye out for. Including:
- Gas pipe leaks
- Too many units near each other
- AC inconsistent in various parts of the home
- Vents not completely sealed into the walls or cabinets
- Venting angled incorrectly or blocked
- Insulation issues
What this means is that performing a thorough inspection of the home’s HVAC units and the system will ensure a safer home and more comfortable home life.
Plumbing System
- Frame damage from the installation
- Water temperature issues
- Potential leakages
- Vents capped off, can cause flooding
- The angle of the drains is off
- Shower drains too high above floor level

Dishwasher Issues
During your pre drywall inspection, be on the lookout for any issues that could strike your dishwasher as this can make a major difference. It is surprising how many issues can arise from this important domestic appliance and how costly they can be to rectify. The dishwasher itself can cost as much as $600 to repair if badly damaged.
Some of the issues to look out for include the drain line. Make sure it is properly attached at both ends, also check that the drying pan is properly installed — without this component the washer will leak and cause more problems.
Electrical Problems
You should also check to make sure no electrical issues are brewing within the walls. By ensuring that everything is correctly connected and wired properly, there will be no need to tear into the walls to make sure things are in order further down the line.
While looking for electrical problems, here are some things to pay attention to:
- Locations of electrical boxes in the house
- The convenience of electrical outlets
- Cables and ceiling fans connected and wired correctly
- Nonfunctioning electrical outlets
- A ground wire connected to the ground rod
- Missing electrical shield plates
It may be worth the additional cost to have a professional electrician with you on this important part of the inspection. They will be able to catch small issues that could start a fire.
Problems With the Floor
This is an especially important issue to examine during the pre drywall walkthrough and inspection. The last thing you would want after the drywall has been installed is to have to pull it all out to correct issues with the floor.
Remember the floor is built atop the foundation and many pipes are snaking their way through the very bowels of your home. You must ensure that there are no errors that can affect the livability of the home in the future.